

Digital SLR + Slow shutter speed + Flailing arms & mad zooms = a whole lot of fun with the Christmas tree :)
 One of my favorite places in one of my favorite places! Avalanche Creek in Glacier National Park, on the west side of the continental divide in Montana. I've never been able to photograph it quite like i wanted or with the perfect film. This was shot with my Yashicamat 124 on Kodak Portra 160 NC, which is an indoor portrait film not really meant for this sort of thing. I used a polarizer and several neutral density filters in order to get a very slow shutter speed (I don't remember exactly what it was, but it was probably 10-20 seconds). This provides the smoky-smooth effect to the water which leaves it looking more like fog than liquid.
 Rural Okotoks, Alberta.
 Waterton Lakes National Park.
 I call this the "Darth Vader" car. It's my dad's old 1950's era "Nash". I used a 28mm lens on my Olympus ON-2N; the camera is actually only about12 inches away from the front of the car though you wouldn't know it to look at it. The image is unmanipulated. There's some vignetting in the upper corners which I really should do something about; I just don't find it terribly intrusive at the moment.
 This is a shot of an outrider at the chuckwagon races during the Calgary Stampede. I like the bit of color in the hat, shirt and blanket in an otherwise subdued photo.
 This is an abstract of one of my dad's old cars - a Nash from somewhere in the 50's. It was taken with my Yashica-Mat 124, a medium-format twin-lens camera from the sixties. It was exposed on Ilford 100 Delta 120 format film (if my memory serves me right) and scanned professionally to a size of 9000x9000 pixels. I messed with two versions - a red-toned and a blue, and for a while couldn't decide which I liked better. In fact, I printed them both into 8"x8" prints and framed them together... but these days I find that I like the blue better.
 One of my father's large collection of no-so-gently-used old cars. I've always been fascinated with them and could spend days shooting the different textures, shapes and colors that can be extracted from a walk around them. Actually I suppose I have, since I have buckets of exposures of his collection. It's always been my dad's dream to restore them; time and money (and kids) have stood in the way of this. But old cars have style and personality; they only get better as time goes by. I think I prefer them as they are.
 This is a 30-second exposure taken at midnight with a full moon. It's rather soft because of the long exposure, wide aperture and undoubtedly some camera shake from the strong winds that were blowing (despite me holding on heavily to the tripod). I tried it in B&W (which would seem more "night-ish") but I like the effect of the color and bright stars in the same exposure.
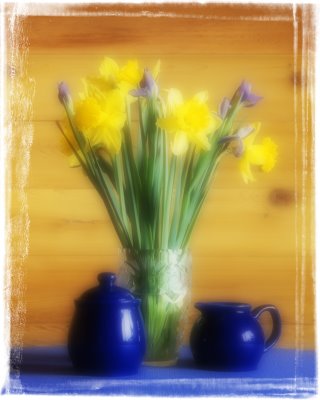
 This is an oldie but a favorite. It is a digital version of a traditional slide film technique which I learned about in one of my favorite photography books, "Photo Impressionism And the Subjective Image" by Freeman Patterson and André Gallant. This book explores the (obviously) impressionistic side of photography through the use of multiple exposures, montages, and other ways of showing more than what the film (or silicon) simply records. While impressionism may not be for everyone, I think that it can show an ability to take photography past the usual into the unusual and beautiful. Whether I am capable of doing that is another thing entirely, of course :)

